How to Install Vinyl Plank Flooring: A Step-by-Step Guide
1. Gather Your Tools and Materials
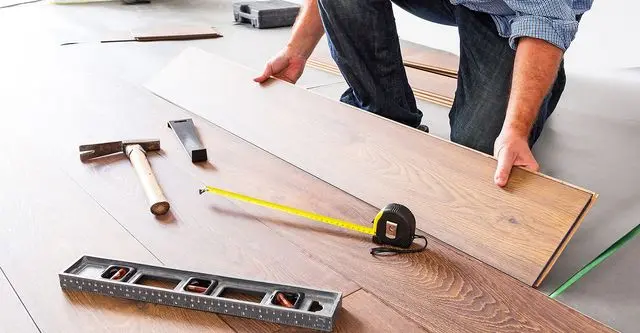
Before you begin, make sure you have all the necessary tools and materials:
- Vinyl plank flooring
- Underlayment (if needed)
- Measuring tape
- Utility knife
- Straightedge
- Spacers
- Rubber mallet
- Pull bar
- Tapping block
- Adhesive (if required)
- Cleaning supplies
2. Prepare the Subfloor
A smooth, clean, and dry subfloor is essential for a successful installation. Remove any old flooring, nails, or debris. Ensure the subfloor is level; if not, use a leveling compound to smooth out any imperfections.
3. Acclimate the Vinyl Planks
Vinyl planks should be acclimated to the room's temperature and humidity for at least 48 hours before installation. Lay the unopened boxes of planks flat in the room where they will be installed.
4. Plan Your Layout
Measure the room to determine the layout of the planks. Plan to have at least a 6-inch stagger between the ends of adjacent planks for a more natural look. Mark a starting line along one wall to ensure the first row is straight.
5. Install the Underlayment
If your vinyl plank flooring requires underlayment, roll it out and trim it to fit the room. Ensure there are no overlaps or gaps.
6. Lay the First Row
Start laying the planks along the longest wall, with the tongue side facing the wall. Use spacers to maintain a 1/4-inch expansion gap between the planks and the wall. Cut the last plank in the row to fit, ensuring you maintain the expansion gap.
7. Continue Laying the Planks
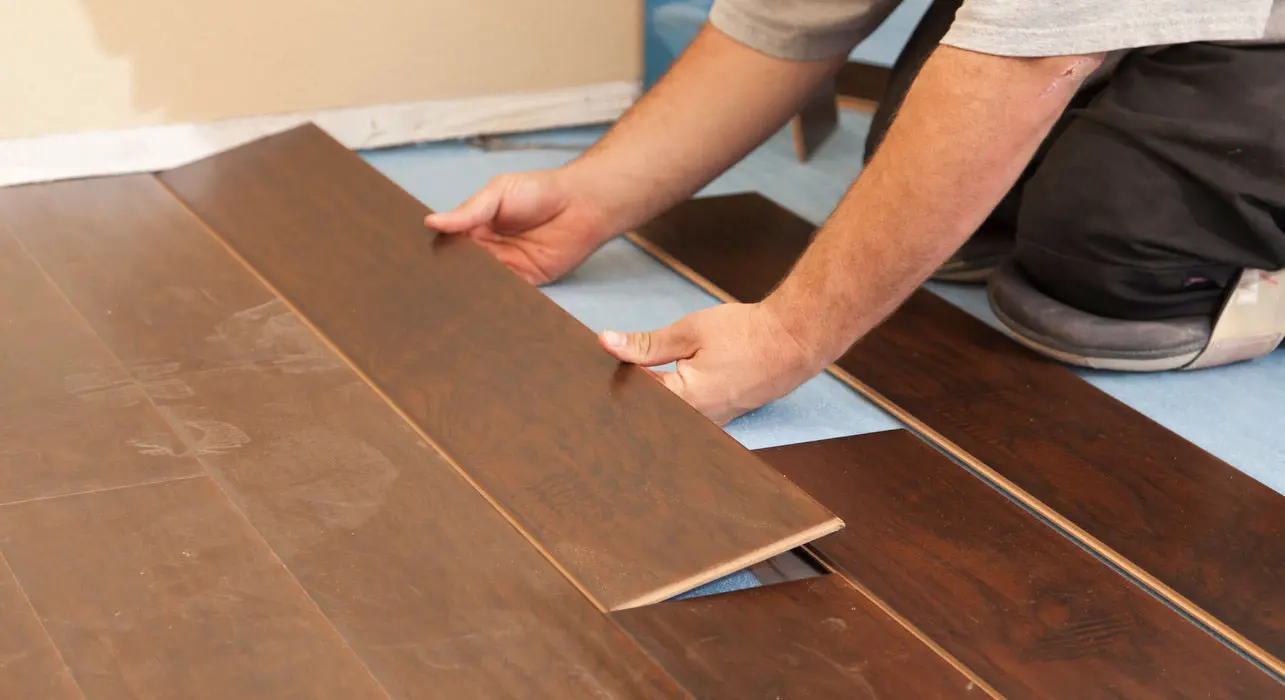
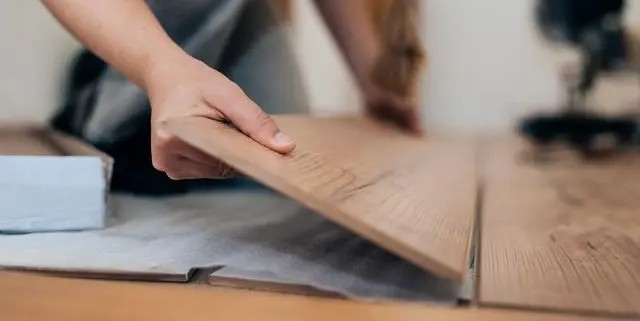
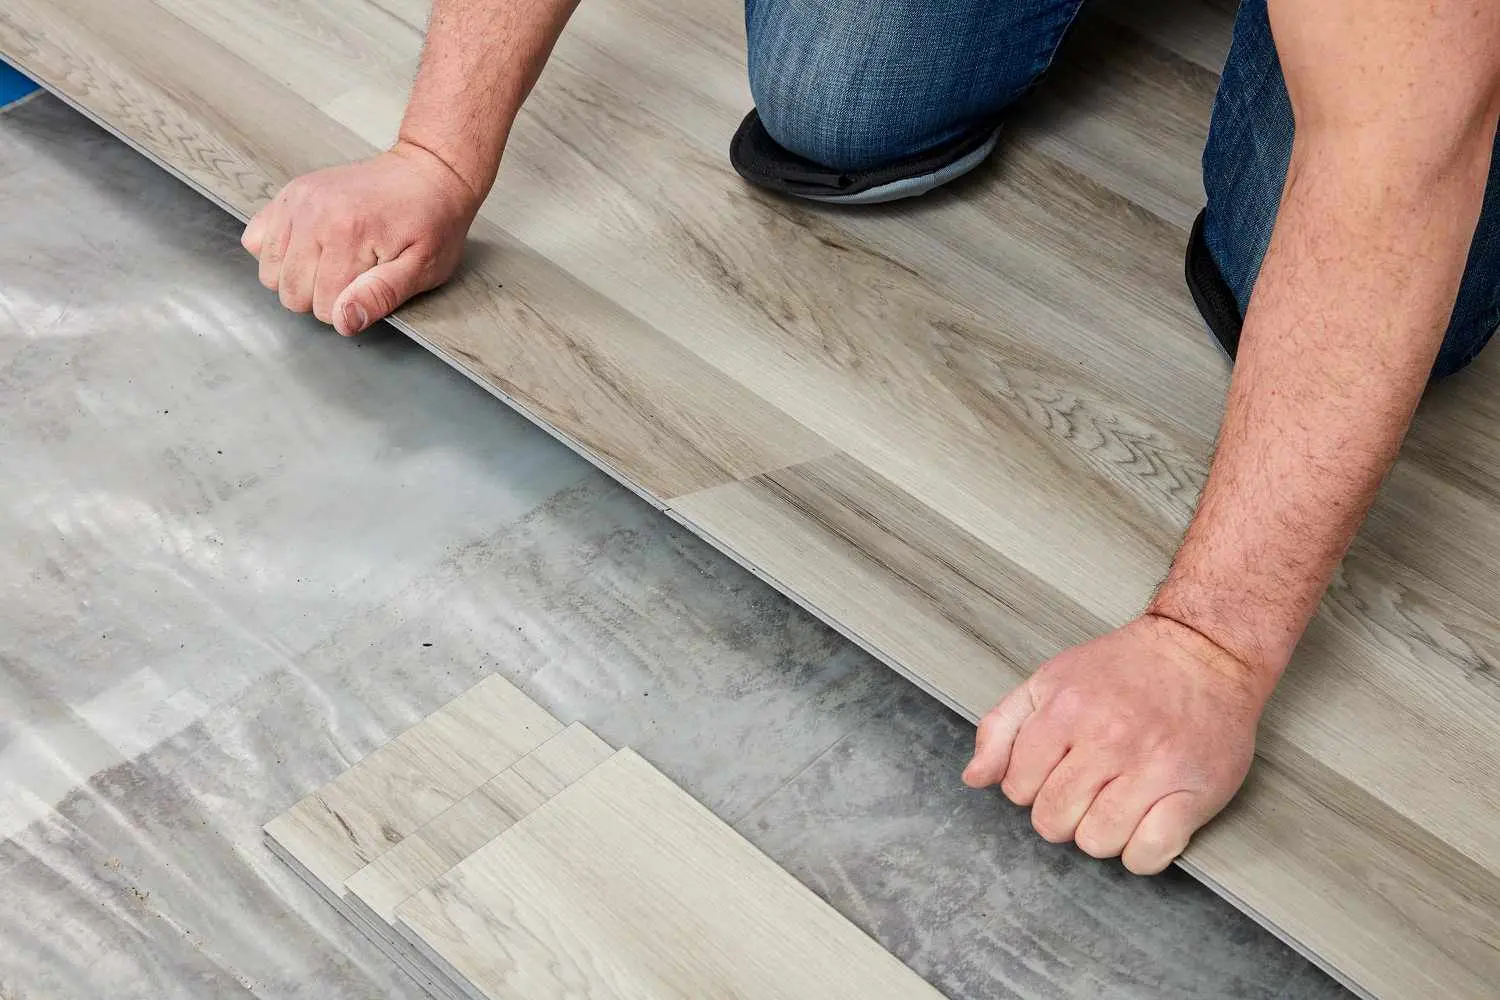
Begin the next row with a plank cut to a different length to stagger the seams. Click the tongue and groove edges together, using a tapping block and rubber mallet to ensure a tight fit. Repeat the process, working your way across the room.
8. Cut Around Obstacles
For doorways, vents, and other obstacles, measure and cut the planks as needed using a utility knife or jigsaw. Make sure to leave the expansion gap around all edges.
9. Finish the Installation
Once all the planks are laid, remove the spacers and install baseboards or quarter-round molding to cover the expansion gaps. Clean the floor to remove any dust or debris.
10. Enjoy Your New Floor
Your new vinyl plank flooring is now installed and ready to use. Follow the manufacturer's guidelines for cleaning and maintenance to keep it looking its best.
Understanding the Costs of Hiring Local Installers
While DIY installation can save money, hiring professional installers ensures a high-quality finish and can save time and effort. Here’s what you need to know about the costs of hiring local vinyl plank flooring installers.
Factors Affecting Installation Costs
- Room Size and LayoutLarger rooms require more materials and labor, increasing the overall cost.Complex layouts with many cuts and obstacles can also raise the price.
- Type of Vinyl Plank FlooringHigher-end vinyl planks or those with special features (e.g., thicker planks, attached underlayment) may be more expensive to install.
- Subfloor ConditionIf the subfloor requires significant preparation or leveling, this will add to the labor costs.
- Additional ServicesServices such as removing old flooring, moving furniture, or installing underlayment may incur additional charges.
Average Installation Costs
The cost of professional vinyl plank flooring installation can vary widely based on location and the factors mentioned above. On average, you can expect to pay between $2 and $5 per square foot for installation alone. This does not include the cost of the flooring materials, which can range from $2 to $7 per square foot depending on the quality and brand.
Getting Quotes from Local Installers
To get an accurate estimate, contact several local flooring installers and request quotes. Here are some tips for obtaining and comparing quotes:
- Detailed Quotes: Ensure each quote includes a breakdown of labor, materials, and any additional services.
- References and Reviews: Check the installers' references and read online reviews to gauge their reputation and quality of work.
- Licensing and Insurance: Verify that the installers are licensed and insured to protect yourself in case of any issues during the installation process.
- Warranties: Ask about warranties on both the installation work and the flooring materials.
Conclusion
Installing vinyl plank flooring can be a rewarding DIY project, but for those who prefer a professional touch, hiring local installers is a viable option. Understanding the installation process and the factors that affect costs will help you make an informed decision and ensure a beautiful, long-lasting floor. Whether you choose to do it yourself or hire a professional, vinyl plank flooring is a versatile and stylish choice for any home.

